{article.name}
Welcome to Taylor Rental of Washington, NJ! We are open Mon - Fri 7:30 am - 5:00 pm & Sat 7:30 am - 4:00 pm . Call us or visit us today!
Four Steps To Staining Your Floors

- Share this:
- Share on Facebook
- Pin on Pinterest
- Tweet on Twitter
Now that you have done all of that work sanding your floor, you might want to change the color of your wood. However, be careful before you start. If there is a lot of scratching from your floor due to the sanding, the scratches will look worse when you apply stain and you should go right to applying the finish. If not, here is what you should do to stain your floor:
1) Make sure that all of the excess sawdust is removed
This is pretty self-explanatory. You won’t want sawdust mixed into your stain so be sure that there isn’t anything on the bare floor.
2) Ventilation
While you didn’t want any ventilation while you were sanding because it would blow the sawdust around, it will be the complete opposite in this situation. You will want ventilation so you don’t have to breathe in all of the stain fumes.
3) Start staining
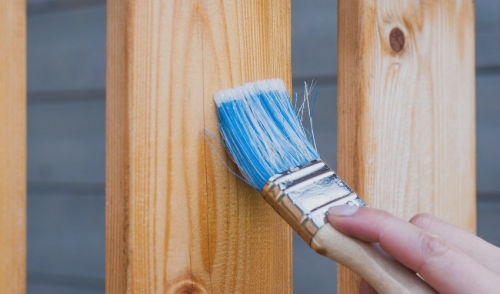
Use a brush to go with the grain with long, even strokes. If you find that you applied too much in one area, you can lightly wipe it off with a rag. Always make sure that you are working towards an exit so you don’t trap yourself in a corner.
4) Repeat if necessary
If you want to go over it again, let the first coat dry first. If there are any light spots, you will definitely want to go over them again.
Your next step will be putting finish onto your floor. Finishing your floor is essential for protecting the job that you just did.


Comments